DIY Simple Workbench | Plans
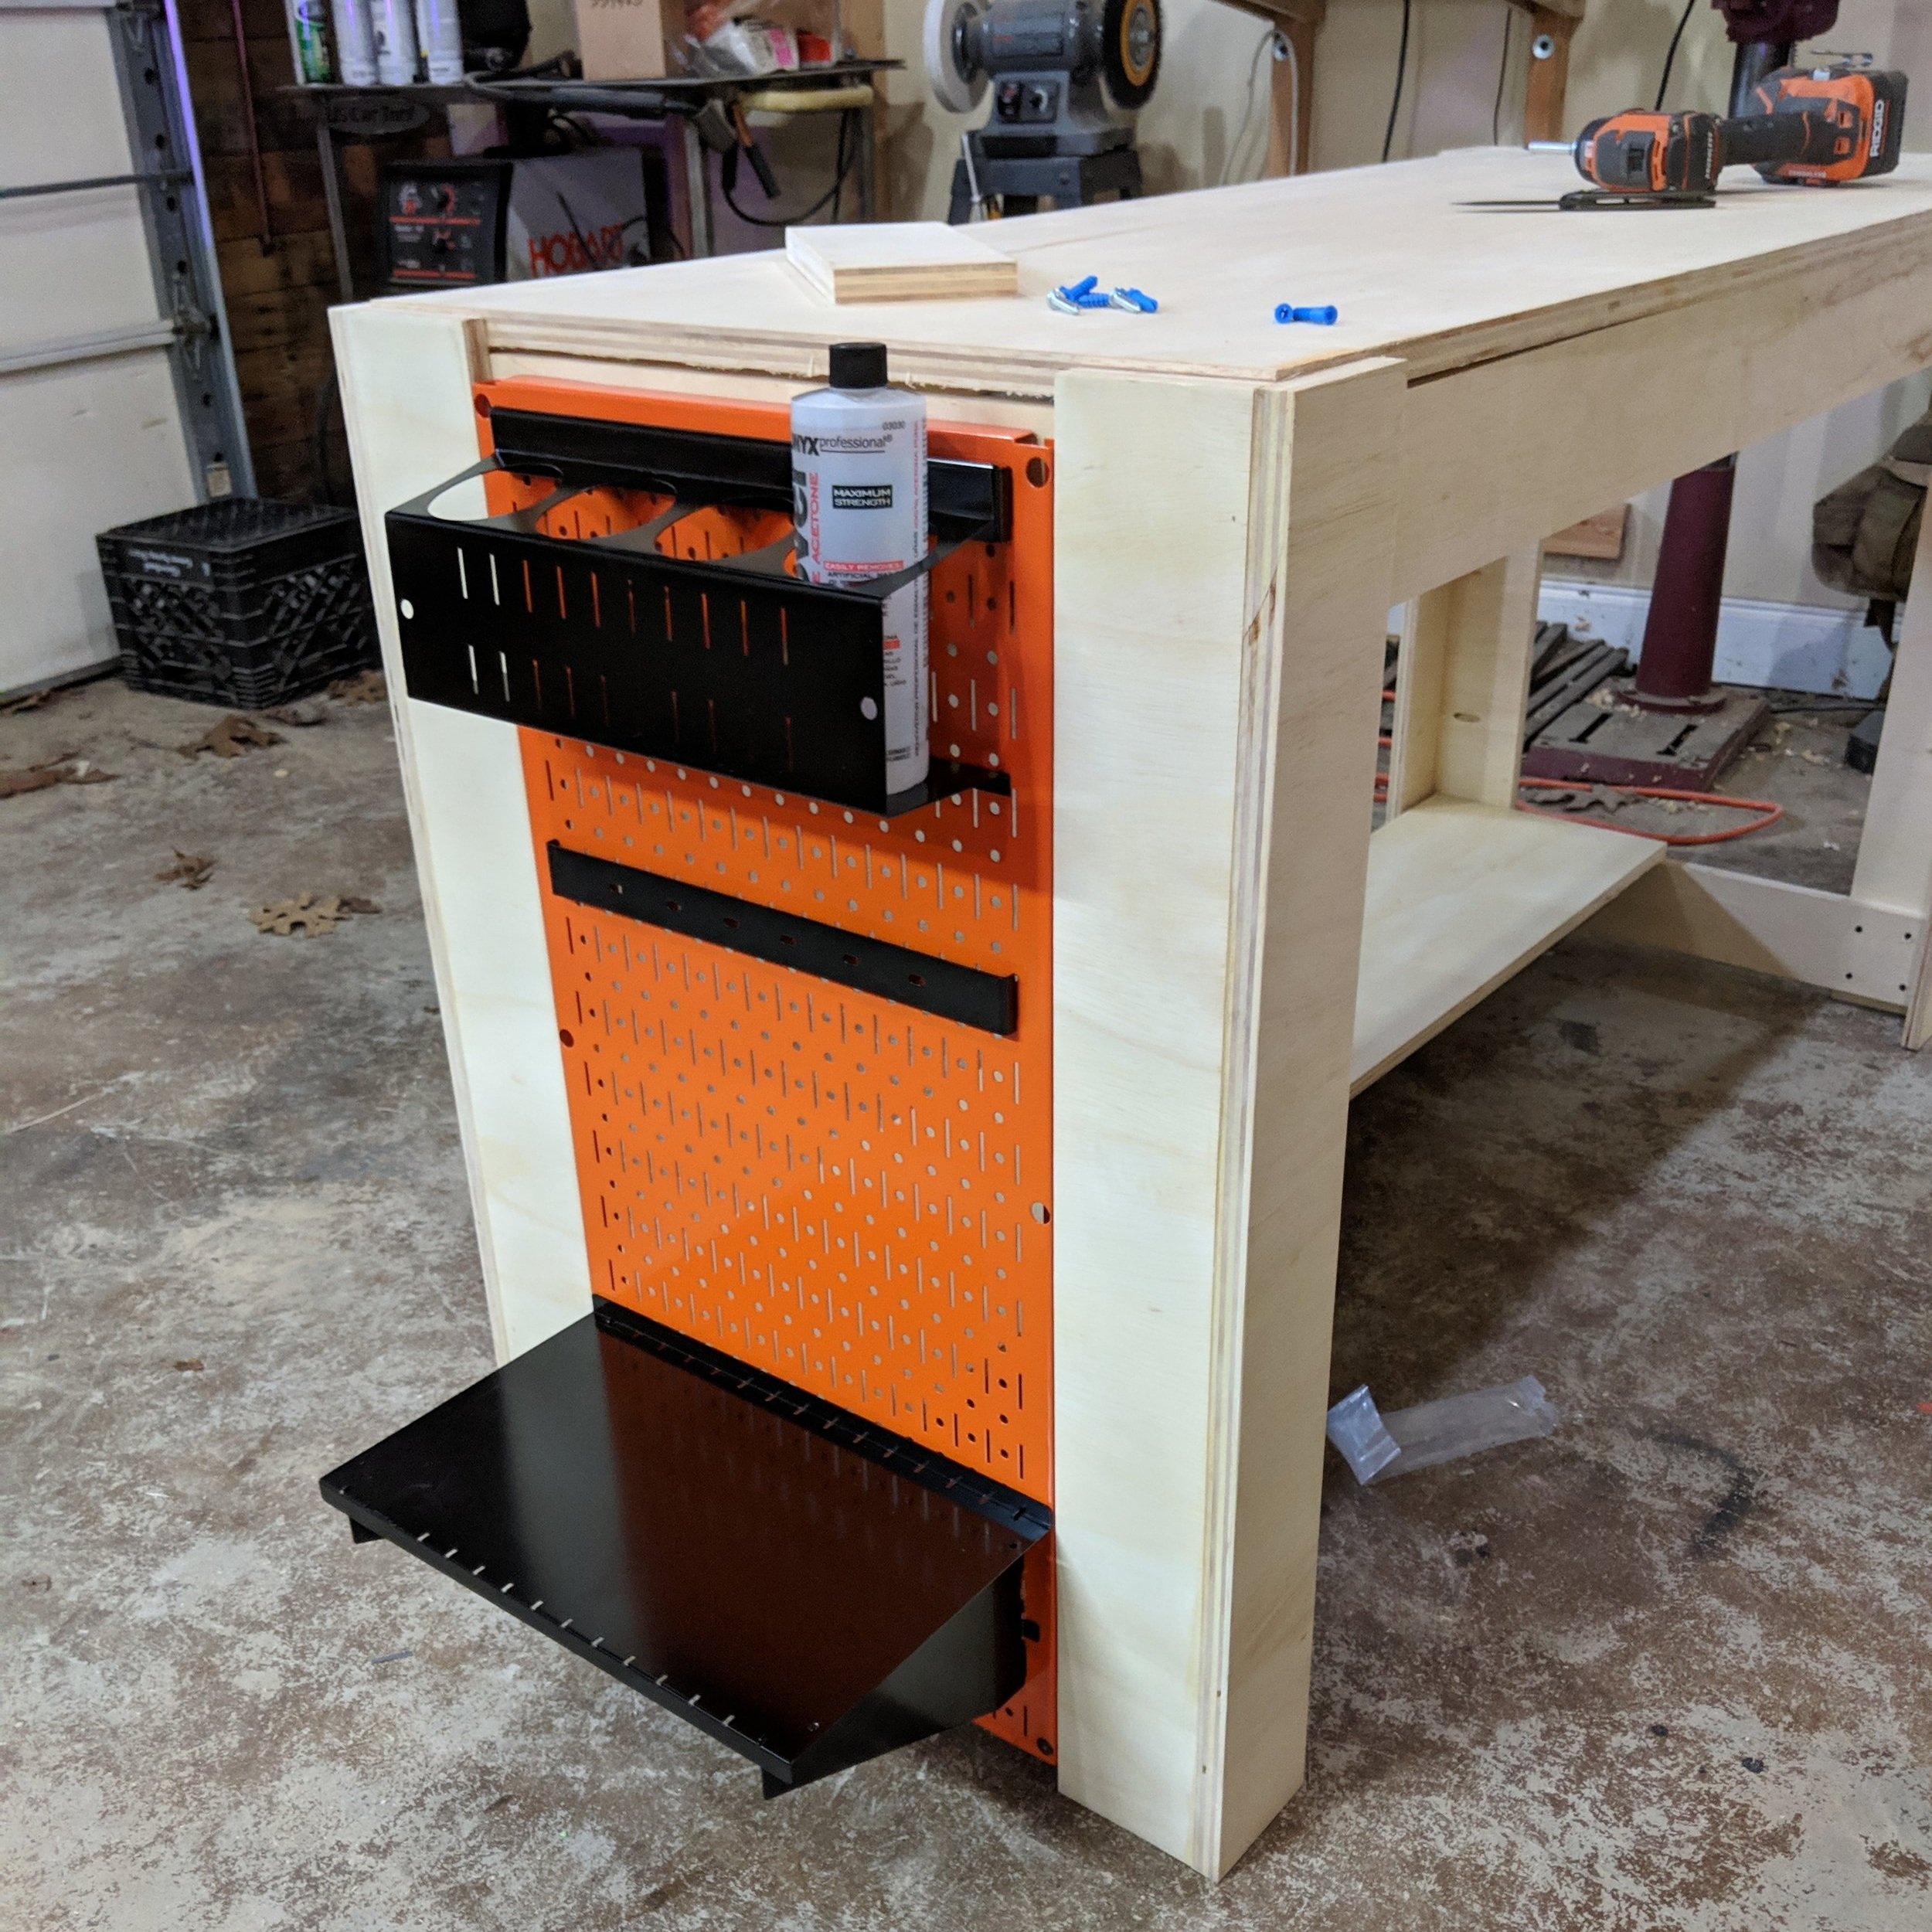
I wanted to make something simple and study! What makes this cool is that it only takes one sheet of plywood and if you play your carts right, you can spend less than $20 for it.
The overall size is 5ft wide, 2ft deep and 34in tall but of course you can scale this any way you see fit. My main goal was to build this with one sheet of plywood.
Now I added some Wallcontrol panels to mine but that is totally optional. I also left the front-bottom open so you can slide anything you want under it like a shopvac of something. Also note the plans do not tell you where to add the top and bottom for the legs, this is mainly because thicknesses will vary. I chose to make mine the same thickness on top and bottom. Makes it easier to remember :D


